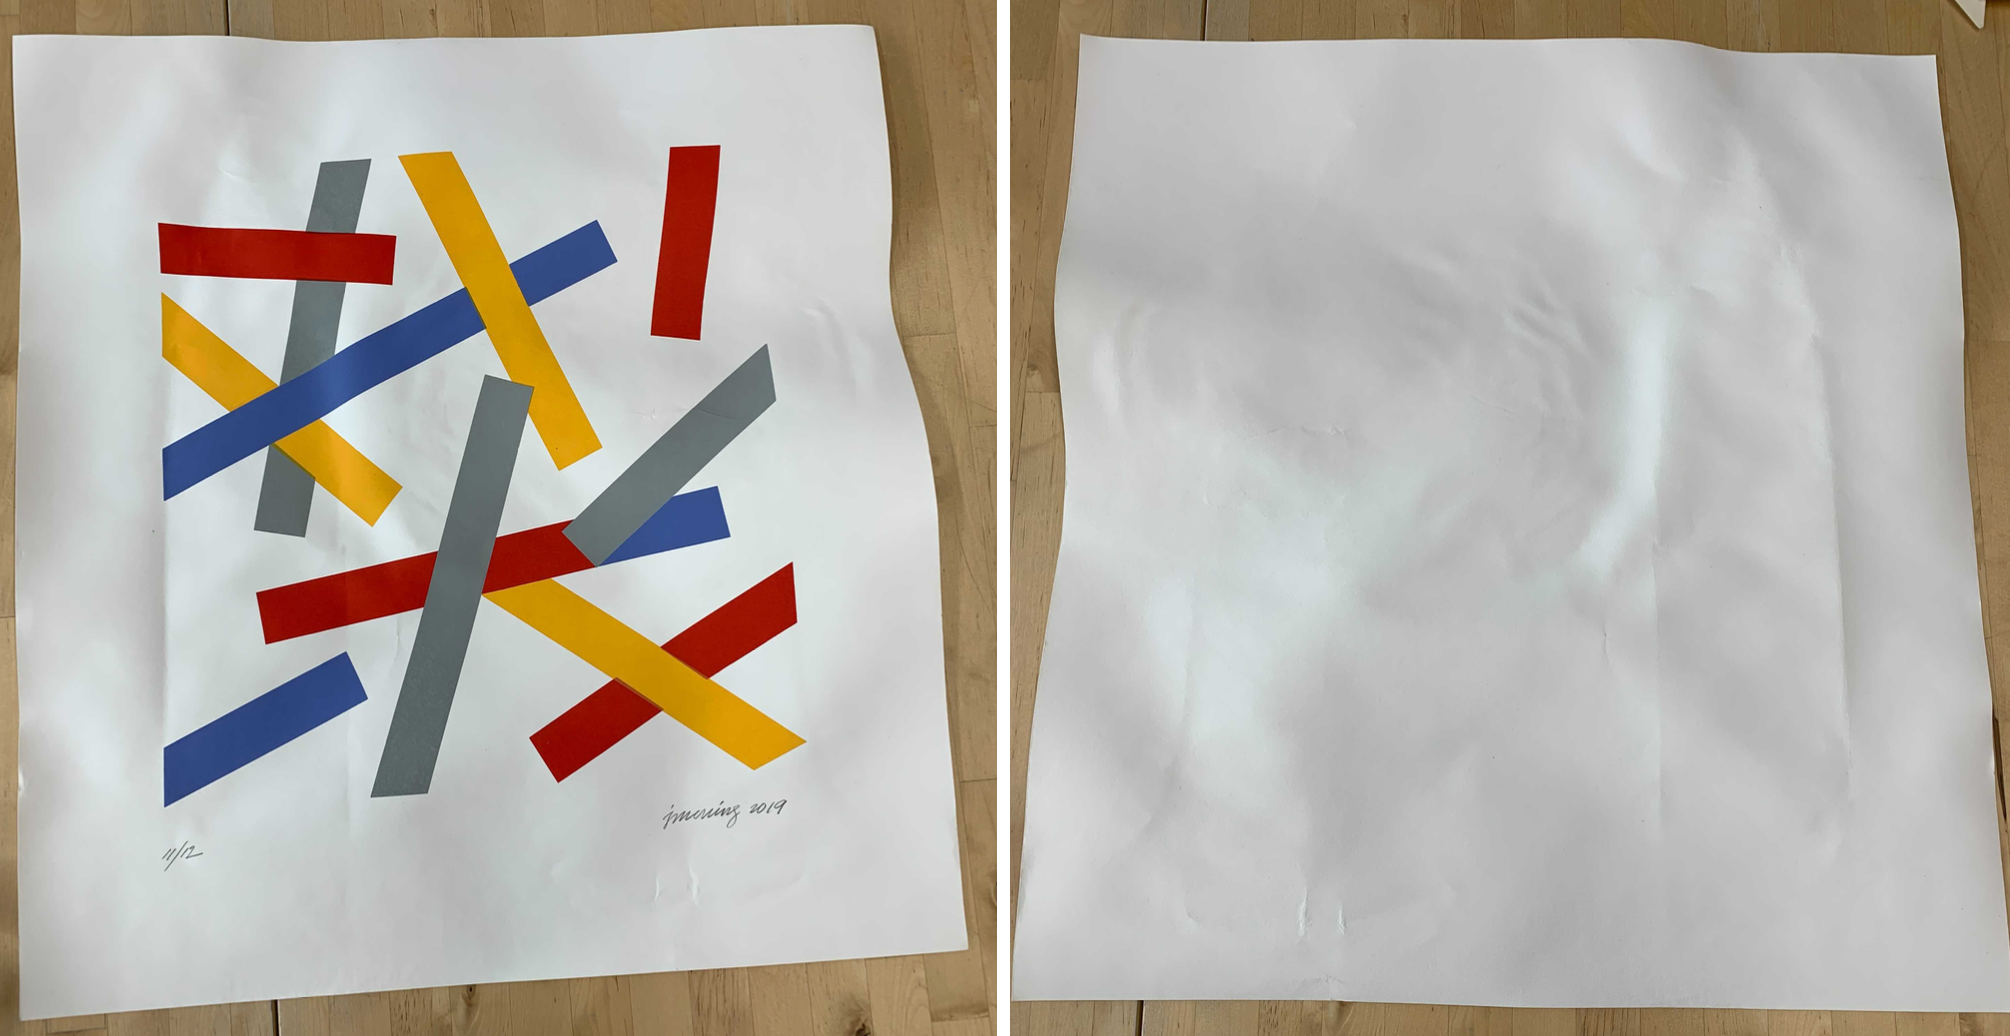
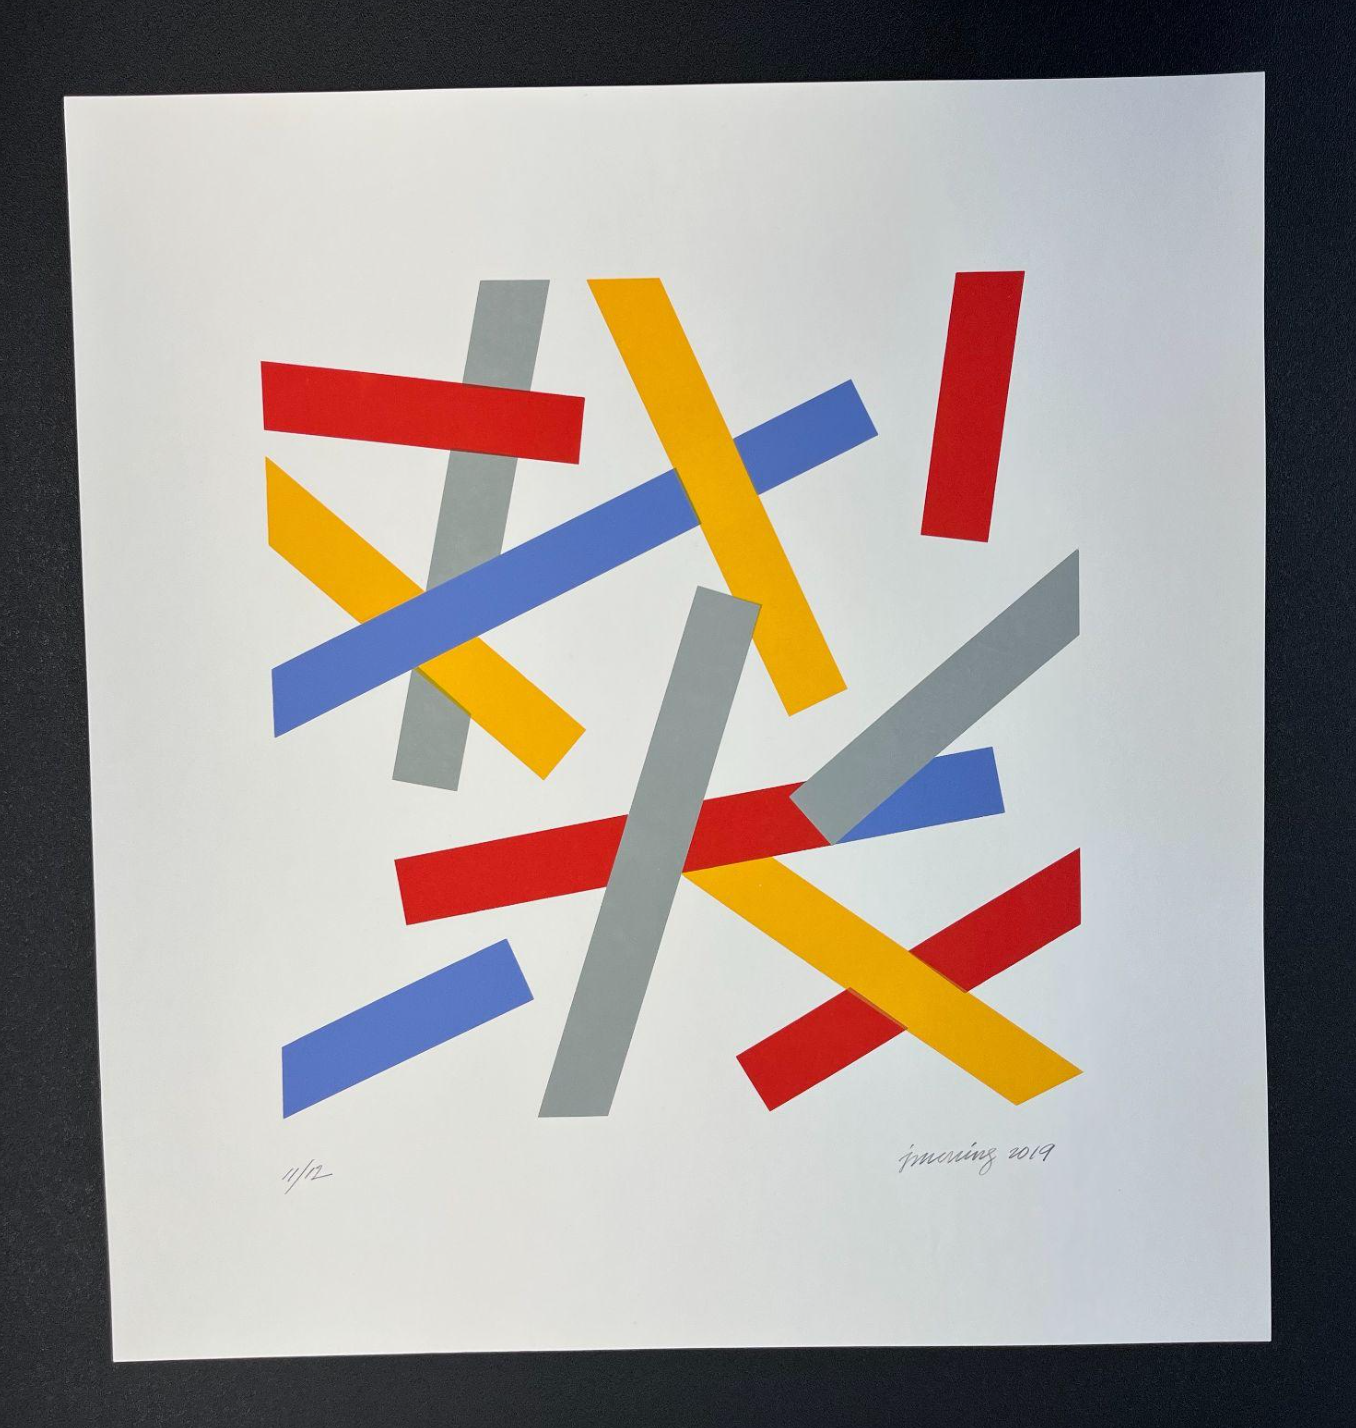
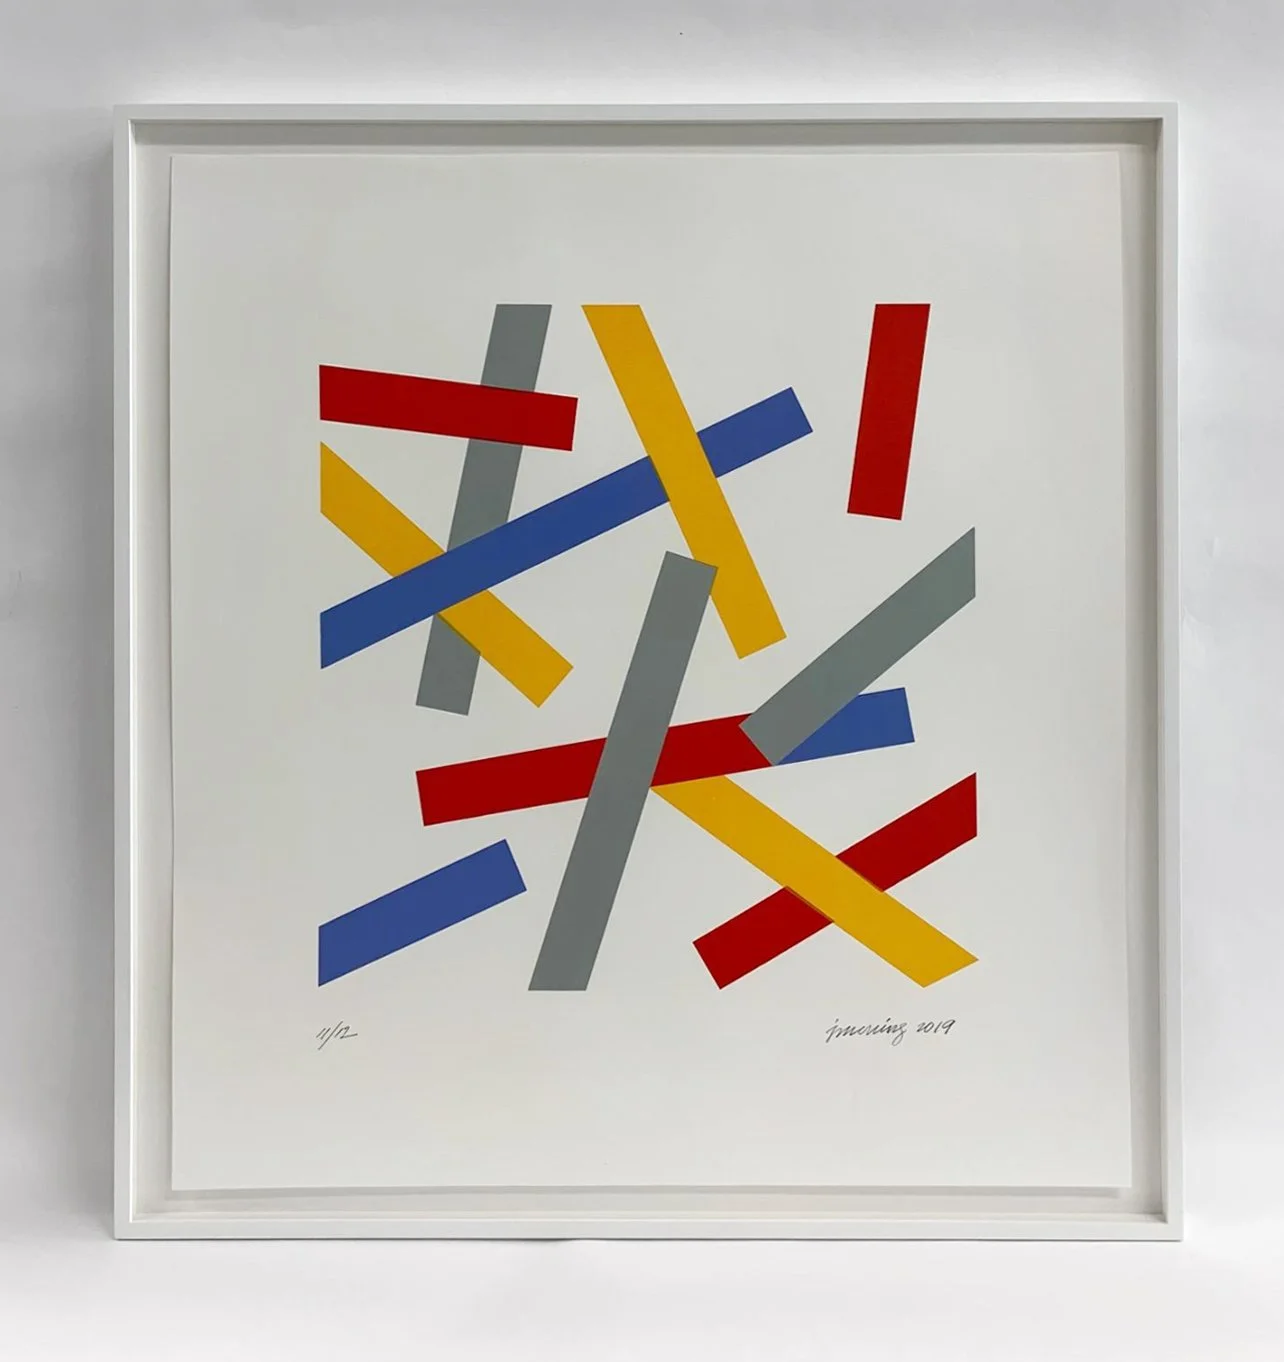
In addition to framing, our team of experts can tackle an array of artwork condition and repair issues. In this case study completed by our colleague Nathan Wong, we take a wrinkled and damaged print and flatten it back to its original beauty.
Pre-Treatment Condition Notes:
Paper: machine made, small/even tooth, cut edges, no watermarks, no plate marks, no embossments or printer’s chops
Color Silkscreen print
Paper is completely cockled
Gray block of ink is disturbed along a crease on the right side half-way down of the image area.
Two creases ~3⁄4” under signature and crease along the image area’s left edge
Crease along upper left corner of image area
Major ripples along the right side of the paper
light creasing within the image area
minimal surface grime
Flattening Plan
Using the method outlined on the American Institute of Conservation’s Wiki for Restrained flattening of works on paper.
Condition Check
Check for ink solubility - answer: insoluble in distilled water
Spray paper with distilled H2O and allow to soak in and relax the fibers- 30 min. - 1 hour
While wet, but not soaking -- (blot off excess water) -- place between two blotters on a flat, dimensionally stable and solid surface (Plexi, glass, table). Place another solid flat object on top of the blotters and dry under heavy weights. Replace wet blotters with dry blotters in the following intervals (increase interval each time the blotter is replaced):
15 mins
30 mins
1 hour
2 hours
overnight
Replace blotters once more and leave under pressure, undisturbed for a couple days up to a couple weeks in order to ensure the artwork is fully dried and dimensionally stable.
Process Images
Allowing distilled water to soak into the paper fibers in plastic.
Sprayer used to spray a fine mist of distilled water onto the paper
Wet paper is placed between layers of blotter and plexi. Heavy weights are used to restrain the paper.
Artwork right after the overnight dry.
Post-Treatment Condition Notes:
Flat!
Some dried-in wet expansion
Increased height by 1⁄4”
Lessened significant creases, most creases have disappeared.
Most of the undulation was repaired. There is some waviness in the paper still, but it is
much flatter than it started.
Flattened and framed artwork.


